Hi everyone. Welcome to our first lesson here at Simply Embedded. Before we start, I would like thank all of you who subscribed to the mailing list. My goal is to create a community where we can learn, share and explore the world of embedded systems so please invite your friends, colleagues or classmates to join.
This lesson is really straight forward. I am assuming most of you have already used a virtual machine, or at least know what it is. If not don’t worry, I will go through the entire process of getting one up and running. We are going to be installing VirtualBox on your computer so that we can install a second operating system – Lubuntu – and create a unified development environment for everyone. This will simplify our lives later and save us from having to deal with incompatibilities in software packages. VirtualBox is available for Windows, Linux, OS X and Solaris, so I expect that should cover everyone here. The operating system on which you install VirtualBox is referred to as the “host” OS. The operating system we will install in the virtual machine is called the “guest” OS. You will see VirtualBox makes reference to these terms very often. After we install VirtualBox, we will create a new virtual machine and install Lubuntu. Finally, we will install some additional packages to make your virtual machine run at its best.
Step 1: Downloading and Installing VirtualBox
VirtualBox is available for download here. You should select the appropriate download for your host OS under platform packages. The current version at the time of this writing is 4.3.16 – I recommend that you use this version. Download and run the installer. Once you are done, run VirtualBox. You should see the following screen:
Step 2: Installing Lubuntu
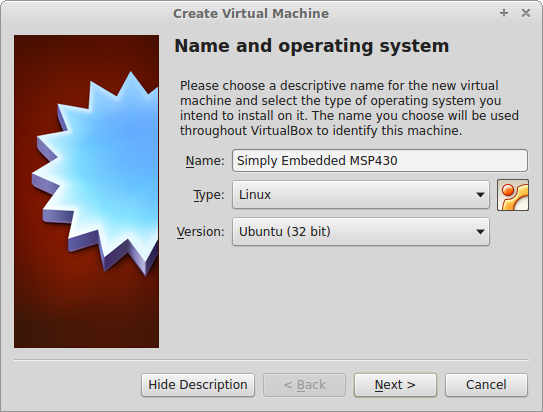
Lubuntu is a lightweight Linux distro based on Ubuntu. I like it because it is clean and simple, but also because it shares the same repositories as Ubuntu so the support is great. You can download Lubuntu here. The version we will use is 14.04.1. You should download the standard PC 32-bit version regardless what type of computer you are using (if you are using a Mac I believe this should still work but if you run across any problems please leave a comment). Once the download has finished, go back to VirtualBox and click on the “New” button in the toolbar. You can name the virtual machine “Simply Embedded MSP430” or anything really. For type you want to select Linux and for version you should select Ubuntu 32-bit.
On the next screen you will have the option to select the amount of memory allocated to your virtual machine. What you choose here will depend on how much physical memory (RAM) your computer has. Try to be as generous as possible but 1-2GB should be sufficient.
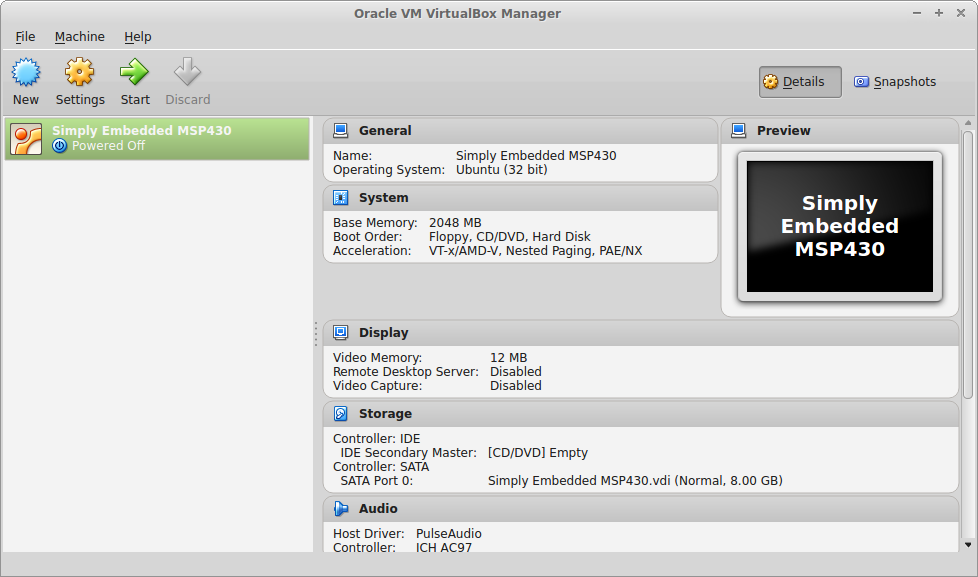
Next you will be asked to add a virtual HDD. Since you do not have one yet, select “Create a virtual hard drive now” click “Create” and then select “VDI” and click next. The “Storage on physical hard drive” screen lets you select how the virtual machine disk is allocated on your actual hard drive. There are advantages and disadvantages to both dynamically and fixed sized virtual disks. Dynamically allocated disks will start at a set size and will grow indefinitely as your system requires – or runs out of space. There is one pitfall: even when you clean up your virtual machine, the virtual machine disk will not shrink back down automatically. It doesn’t take much for a virtual machine disk image to expand to 20GB – 60GB or more (i’ve seen 500GB virtual machines…). On the the other hand, the fixed size option will just run out of space and stop working. So what do I recommend? Use the dynamic. If you need to shrink your drive in the future let me know, there are plenty of tutorials I can point you to that explain how to do it. Click next and on this final screen you can leave the default values. Click create and you should now see your new virtual machine available on the main screen.
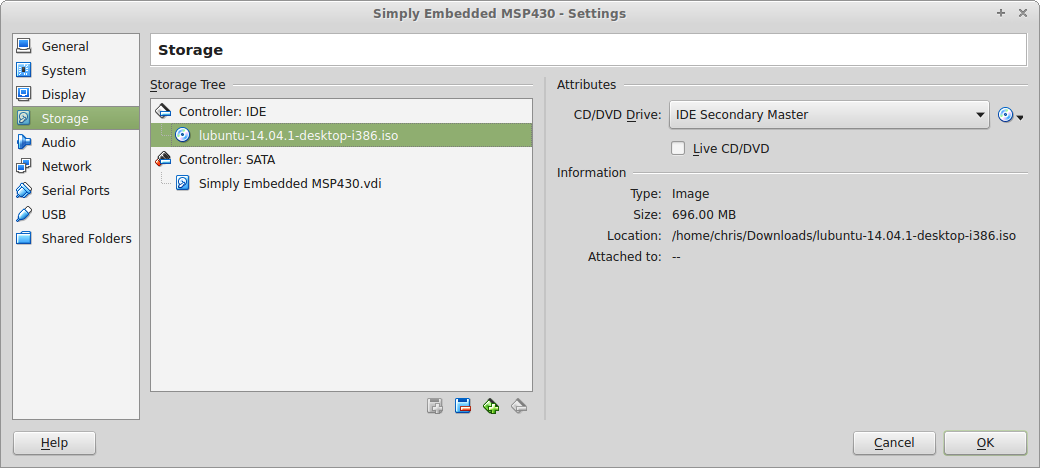
Select the newly created virtual machine, and click on the “Settings” button in the toolbar. Under the “Storage” section you should see “Controller: IDE.” It will currently be empty. Click on it and then on the right click on the CD icon and select “Choose a virtual CD/DVD disk file…” From the dialogue, choose the Lubuntu .iso file that you just downloaded.
Now press ok to save your changes and start your virtual machine! It will boot up and ask you to select your language. You will then be taken to the Lubuntu live CD menu. Select “Install Lubuntu.” Follow the installation procedure leaving the installation type at its default value, fill out the appropriate fields and let the installation complete. When it is done, remove the installation disk by going to the “Devices” menu and under “CD/DVD Devices” select “Remove disk from virtual drive.” Then reset the virtual machine.
Step 3: Installing guest additions
Before you use your new Lubuntu guest, you should install the guest additions package. This will install drivers and other packages that will make your virtual machine experience much more seamless (like being able to scale the window, copy / paste across your host and guest OS, etc…). Before we install the guest additions, you will need to install some packages that do not come with Lubuntu, specifically:
- gcc
- make
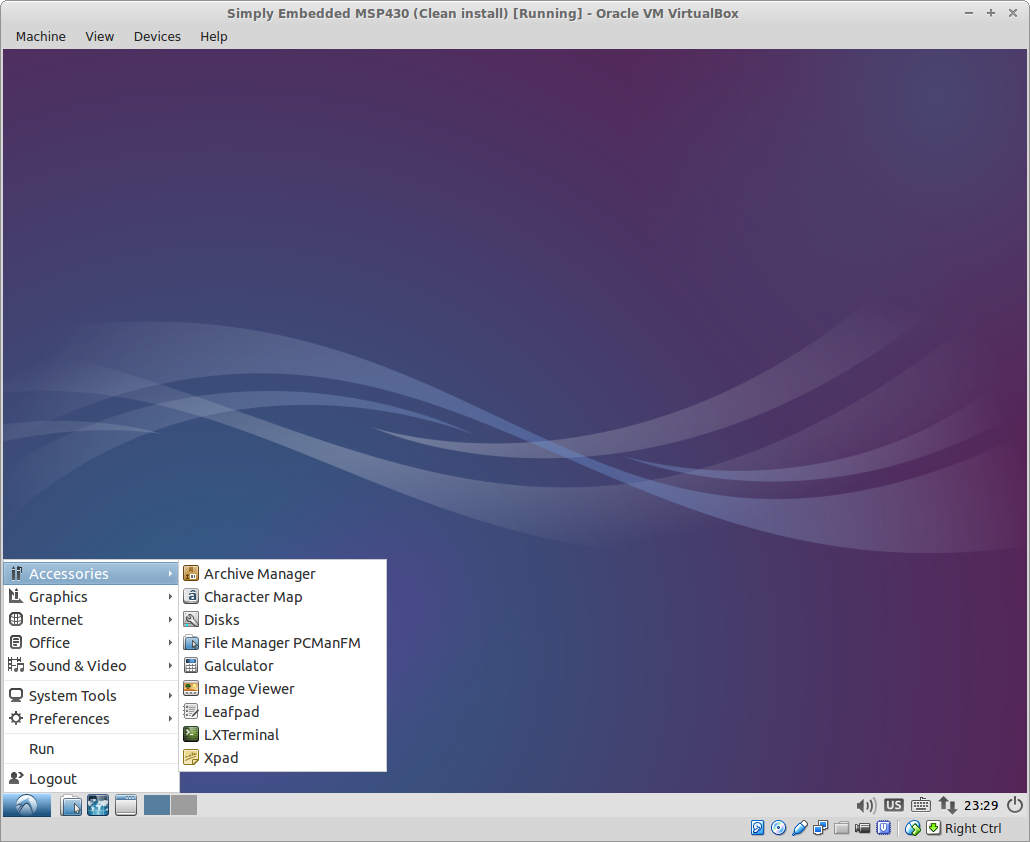
We will use the apt command line utility to download and install the required packages. Open up a terminal from start->Accessories->LXTerminal as shown:
From the terminal, enter the following command to install these two packages:
sudo apt-get install gcc make
You will be prompted for your password and hit ‘y’ when prompted if you want to continue. This command will get all the packages from the Ubuntu repository, resolve any dependencies or conflicts and install them for you. Once the installation is complete, select “Insert Guest Additions CD Image…” from the “Devices” menu in VirtualBox. This will mount the guest additions disk image under /media/<user> where <user> is the username you entered during installation. Now navigate to the location of the guest additions image, for example:
cd /media/chris/VBOXADDITIONS_4.3.16_95972
Then run the installer:
sudo ./VBoxLinuxAdditions.run
The reason we needed to install those additional packages earlier is because VirtualBox needs to compile and install the kernel modules that are required for the guest additions. Once the installation is completed, restart your virtual machine from the command line:
sudo shutdown -r now
Step 4: Snapshots
Snapshots are an extremely effective way of backing up the state of your virtual machine. If you accidentally mess up your Linux install, you can always restore a snapshot and your virtual machine will be exactly as it was. Important note though: all your files and settings will be restored to that point as well, so you still need to back up your work, personal files, bookmarks etc.. separately. Create a snapshot now by selecting “Take Snapshot…” from the “Machine” menu of VirtualBox.
In the next tutorial, we will be setting up the build environment for the MSP430.
I had some issues with the Guest Additions instruction. This menu wasn’t obvious/available on my Mac. After a few Google searches I found out how to manually download the guest additions .iso and proceed.
Hi Ben. Do you mind posting the links that helped you out so other readers can use them if required. Thanks!
Since I already had an Ubuntu 14.04 64-bit VirtualBox VM on my Windows 7 host, I tried setting up the MSP430 toolchain on that. Unfortunately, I’m having some kind of USB problem. There are messages about my v. 1.3 Value-Line LaunchPad showing up in dmesg, but mspdebug connects sometimes and fails to connect sometimes. When it fails, I’ll see something like
rf2500: can’t send data: Resource temporarily unavailable
fet: init failed
Trying again…
Does anyone have any ideas where the problem lies? The host computer has only USB 3.0 ports, and I’ve read that VirtualBox has some problems with USB 3.0, but from what I can tell, those problems are only with USB 3.0 devices on USB 3.0 ports, and here I have a USB 2.0 device.
When I right-click the VirtualBox USB icon in my VM and disconnect the LaunchPad from the VM, the VirtualBox VM window freezes.
Hi John,
Does it every connect or does it always fail? I have seen the Launchpad fail to connect on both Windows and Linux machines occasionally. To be honest I am not sure why that is, but typically just restarting mspdebug has fixed it for me for the most part. I do know USB in general tends to be a bit hit or miss going through VirtualBox. On my Windows machine I have exactly the same problem – that is any time I disconnect the Lauchpad the VM dies. On my Linux host (with Lubunutu guest VM) I don’t have this issue, so its hard to say. Doing some research online I can see other people have problems and there have been a few tickets raised in the past months on this issue. I am hoping that with the next VirtualBox update some of this instability will be resolved. I don’t have USB 3.0 on any of my computers, so I unfortunately I can’t speak on that issue. Please let me know if this issue is blocking you from doing the tutorials so we can try and find some alternative that works for you.
Out of something like eight tries, each with a fresh reboot of the guest Linux system, mspdebug made a connection only once. I also tried a 64-bit Arch Linux installation in a VirtualBox VM on the same machine, and with that, mspdebug failed every time with a different error—something about a timeout. There were some mentions of older 4.2.x versions of VirtualBox behaving better with respect to USB passthrough. Maybe it’s worth trying one of those.
Actually, I’m away from home this week, or else I’d be working with the Launchpad and my Linux host. I’ve been experimenting on and off with MSP430s for many years—since before Spy-Bi-Wire came along. Your recipe for an MSP430 development environment within a VM sounds great for times like this week, when I only have a Windows laptop available.
Connecting a USB 2.0 hub to this laptop’s USB 3.0 port, and then connecting the Launchpad to the hub, seems to work pretty well. I haven’t had any trouble getting mspdebug to connect on its first try, and I can flash the MCU and run or stop it. VirtualBox still hangs when I try to power off the virtual machine or when I disconnect the Launchpad.
That’s good news. At least that’s some kind of workaround. You know interestingly enough while I was writing lesson 6 I ran into a really strange problem. My launchpad has been working fine on my windows machine with VirtualBox all this time and then out of nowhere it stopped working. I can see try to add it to VirtualBox but nothing happens. If I look under device manager in Windows is looks like the drivers are not installing or initializing properly. I tried on my Linux host machine and it worked fine. Sigh oh sigh Windows… Ill have to figure it out sooner or later cause my Linux machine is too slow to run a VM… If I figure out anything with regards to the VM crashing when removing the device I will keep you updated.
I have followed the instruction of the lesson 2 setting up the toolchain to install the MSC-430GCC toolchain. But I got an issue of how to build it into a root location which where is the root location.
Thanks,
Wen-Ruey
Hi Wen-Ruey. Can you please post the error you are getting or send it to me by email (info@simplyembedded.org). If you are getting an error installing the toolchain to the /opt directory it may be because you do not have root privileges.